Introduction: How to Set Up Your First Security Camera in Under 30 Minutes?
If this is your first time, there is no need to worry because installing a security camera is not a big deal. This guide is the perfect fit for anyone who wishes to secure their home, watch over their front porch, or focus on a particular area, as you can install your security camera in less than half an hour.
With the help of current technology, the installation process of a security camera is easier than before. So, if you are willing to install a security camera, then this guide will teach you all the things that are necessary to know, the ways to choose the right place for the camera installation, and the camera settings that you need to set for the better performance of the security camera.
Once you have worked through the guide below, your security camera will be up and running, helping to ease your mind.
Step 1: Choosing the Right Location

Indoor vs Outdoor Placement
First, you have to decide where exactly you need coverage—indoors or outdoors, or probably both—before installing your camera. Indoor cameras can be optimally installed where the risk of intrusion is high, such as in the living room, well-lit hall, and main door.
While indoor cameras have a more refined appearance, outdoor cameras are manufactured with the capability to withstand rain, wind gusts, and temperature fluctuations.
Key Entry Points to Monitor
Ideally, one should ensure that all the major points of access, such as doors, windows, and even the garage, are adequately covered. These are the most sensitive areas, and having them monitored guarantees that any movement or event out of the norm will be seen.
Avoiding Obstructions and Blind Spots
Ensure that the camera is not covered by furniture, walls, or any other plant so that it can capture all the necessary events. This will ensure that necessary events are captured clearly without obstructions or any inconveniences required in capturing the scenes.
Step 2: Selecting the Right Camera Type
Wired vs Wireless Cameras
Wired cameras are more stable and reliable because they do not rely on a Wi-Fi connection that can be disrupted. Nonetheless, wireless cameras are more versatile in positioning and require less effort when it comes to installation, as there is no complex wiring system to work around.
Resolution and Field of View
The higher the number of pixels per inch, the better the video quality for a particular monitor. Many cameras produced today come with a recording capability of 1080p and sometimes even 4K, which yields clear video recordings. A field of view of 120 degrees or more is recommended to achieve better results in converging the area.
Power Sources (Battery or Plug-In)
Regarding mobility, there is no better kind of camera as battery-powered cameras do not require the infrastructure to be fixed on them to function and can be placed anywhere. Attached camera PowerPoint types may not be flexible due to the location of the outlets, but they do not have to be recharged as plug-in cameras do.
Step 3: Gathering Necessary Tools
Essential Tools You’ll Need
Generally, when working on most installations, you will require a screwdriver, drill (if necessary), and screws. Some security camera kits come with mounting equipment, but a homeowner should always ensure this by looking at the manufacturer’s guide.
Checking Compatibility with Smart Devices
Suppose you are proceeding further to take these shots. In that case, there are common traits for smartphones, tablets, and home security systems you should consider: Compatibility will enable other innovative functionalities to be added effortlessly with other products in the smart home.
Step 4: Installing Your Camera

Mounting Hardware Setup
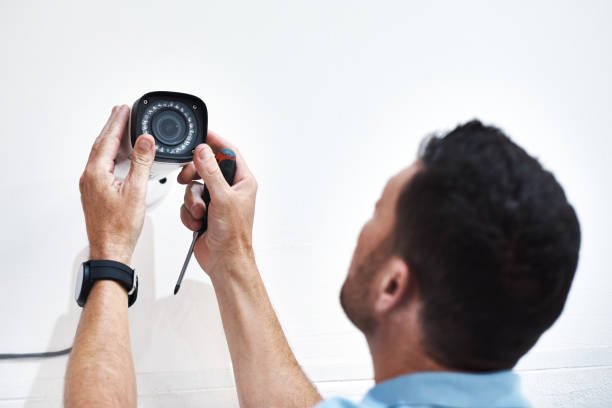
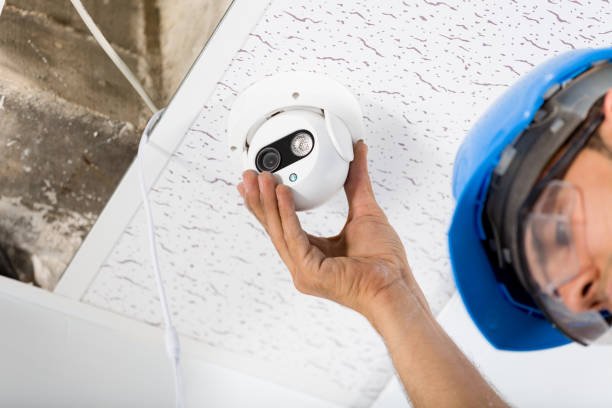
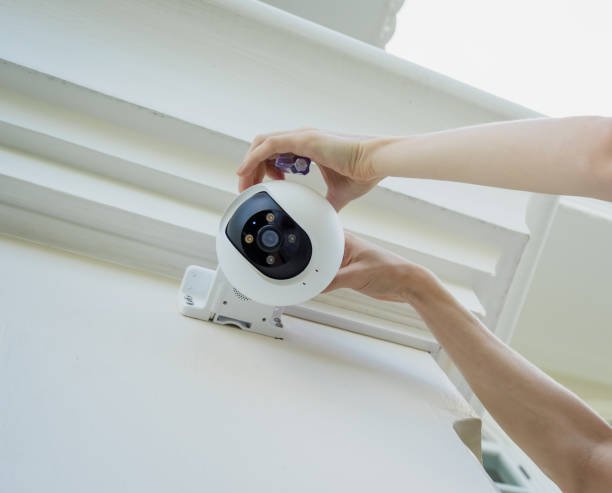
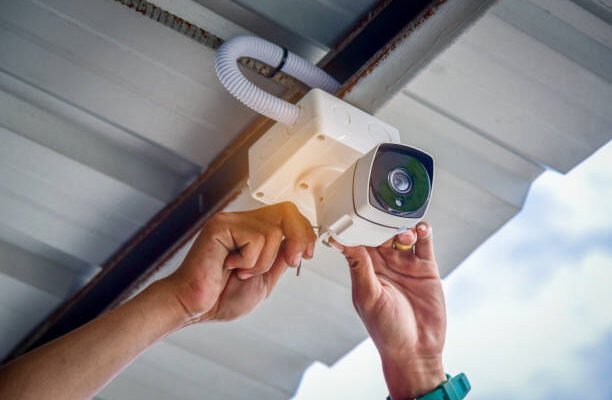
Most cameras usually provide brackets or mounting systems. To ensure there is no movement in this plate, you should use screws to fix the mounting plate securely in place.
Positioning Your Camera Correctly
If you want to enjoy the best view of the game, position your camera downward. It should also be placed at a height where people cannot interfere with it, but it should not be placed too high so that detailed information is not noticed.
Setting Up Night Vision (if applicable)
Most cameras can capture videos under low light or even at night using infrared features. Make sure this feature is enabled and use it at night to determine the quality of the image.
Step 5: Connecting to Your Network
How to Connect to Wi-Fi
Most contemporary security cameras work through a wireless system. After that, please turn it on and connect the device to the home Wi-Fi network according to the manufacturer’s instructions. Ensure that the signal for the location where the camera is to be successfully installed is strong.
Troubleshooting Connection Issues
If your camera doesn’t connect, you should try moving it closer to the router or even restarting the device. You may also have to reset various router parameters, such as changing from a 5 GHz to a 2.4 GHz band.
Step 6: Configuring Camera Settings
Adjusting Motion Detection Sensitivity
Cameras frequently contain settings for controlling the sensitivity of motion. If the setting is too high, the person will receive notification messages every time there is activity, and if it is too low, some crucial events may not be noticed.
Enabling Alerts and Notifications
Make sure that your camera is configured to send you notifications through push notification or email if movement is detected. This way, you know what is happening at your property every day of the week or at least every other day.
Fine-Tuning Video Quality
It is still important to note that some cameras enable you to set the quality of the captured video. A not very high quality can help decrease the amount of space taken, but the picture cannot be very good. Proportionalism is based on what your business requires.
Expert Insights

Security Professionals on Camera Placement
Various sources state that security cameras should be installed in conspicuous locations to discourage potential burglars. Yet, pay attention to privacy laws—it is prohibited to capture people on the streets or in other people’s houses, for example, on a sidewalk.
Future Outlook: Emerging Trends in Security Cameras
Integration with Smart Home Systems
The application of smart homes has increased as security technology continues to develop due to the establishment of cameras. It is now possible to control many systems through voice, and you can monitor the state of your home by using, for instance, Alexa or Google Home.
Advances in AI-Powered Security Cameras
Current innovations incorporate artificial intelligence, such as AI cameras that can detect faces, objects of a specific nature, and even unusual movements. These innovations hold the potential to bring a new creative and, hence, intelligent outlook to home security.
Conclusion
Therefore, it is very informative to know that installing your first security camera is not as complicated as you might have thought.
With the help of these steps, you can install a camera for extra protection and security within three and a half minutes, depending on whether you choose a surveillance camera with a battery already included.
It does not matter if the doors are to be installed inside or outside a building; the procedure stays the same, and the advantages are unmeasurable.


One Comment on “How to Set Up Your First Security Camera in Under 30 Minutes?”